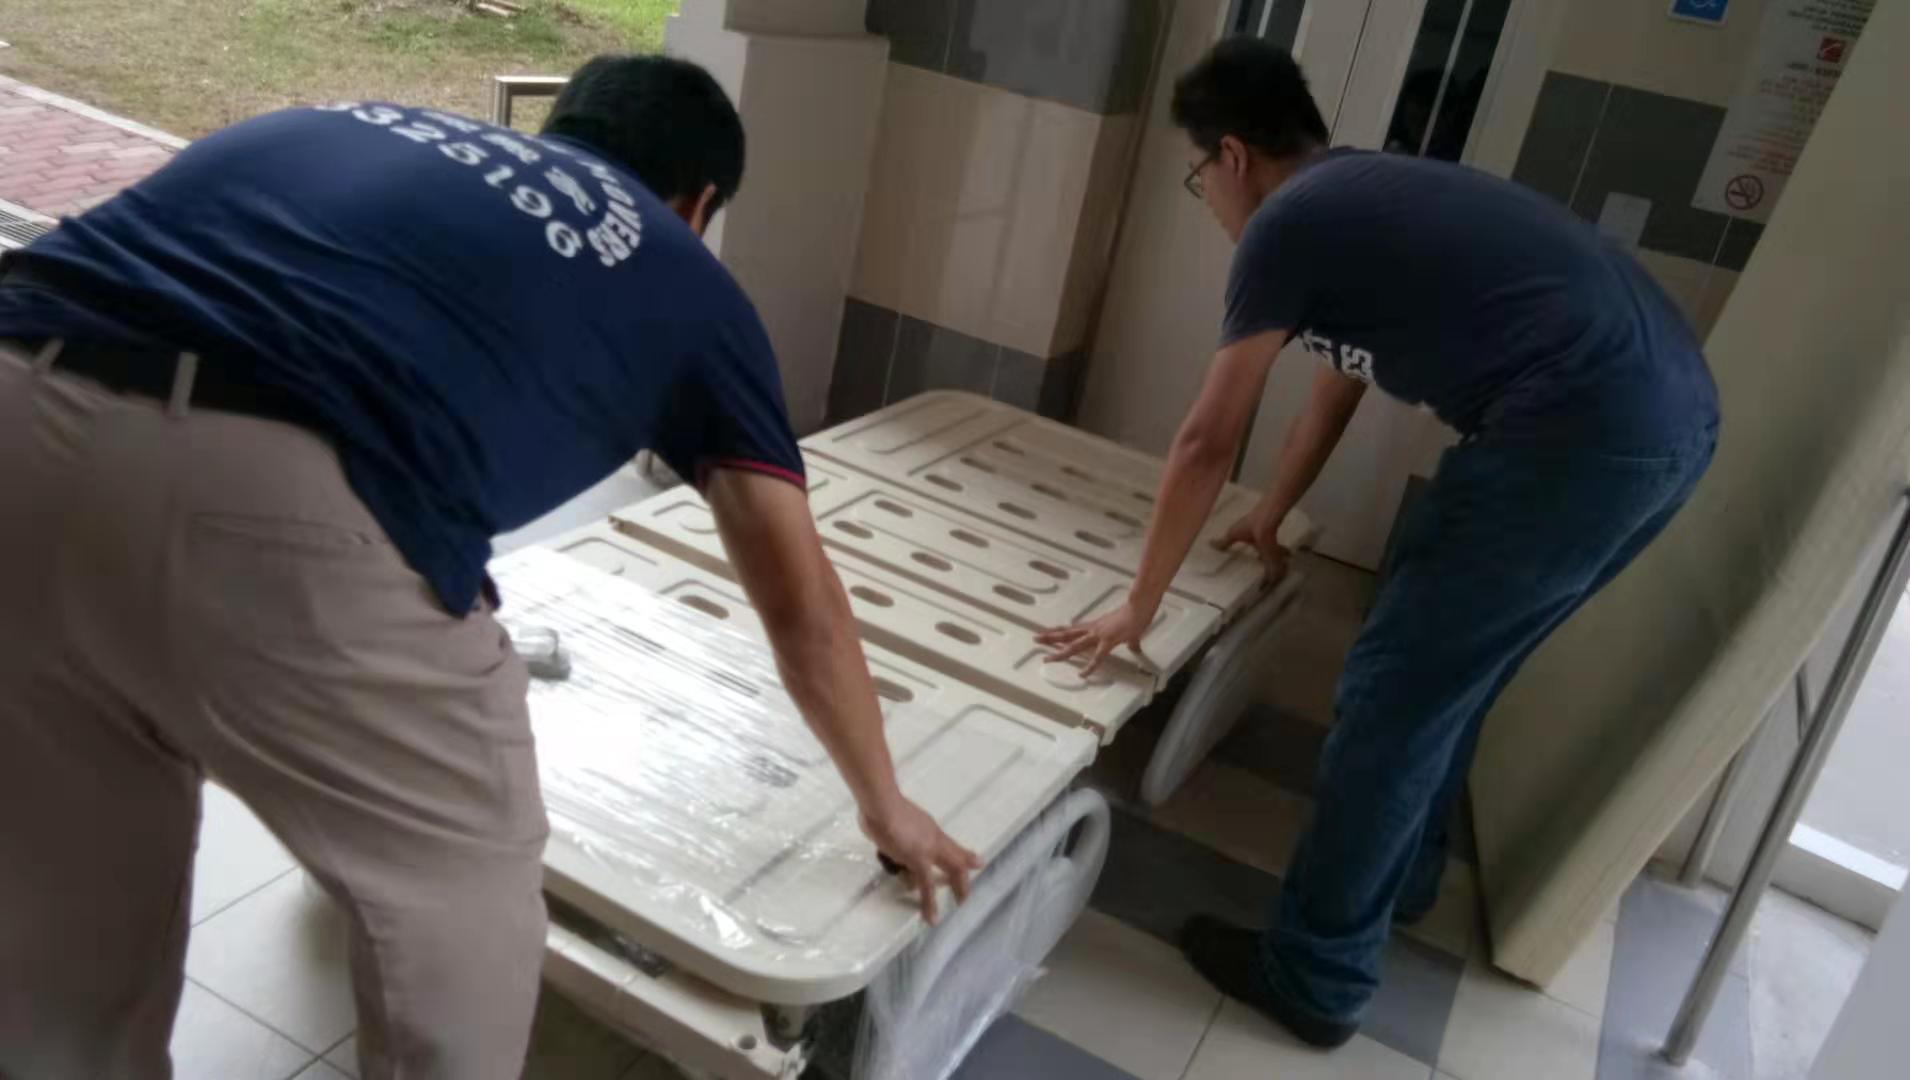
Home multifunctional hospital bed installation steps tutorial
Discover easy, step-by-step instructions for installing a multifunctional hospital bed at home—ensure safety, comfort, and proper setup for optimal patient care
Now the population is getting more and more aging, and now there are more and more sick elderly people. Some elderly people will have mobility problems after an illness. Therefore, multifunctional hospital beds are more and more popular with everyone. The functional nursing bed is based on the patient’s long-term bedridden pain. It adopts a unique double-folded surface structure. The bed surface is a special cushion structure so that the bed surface can be adjusted to a flat or horizontal space at will. hospital beds with functions such as getting up and defecation (washable and enclosed to reduce indoor odor) devices. The emergence of multifunctional nursing beds has reduced the pressure on hospitals and family members. Do you know how to assemble multifunctional nursing beds? Today move move will take everyone to understand the detailed steps of assembling multifunctional nursing beds.
Multifunctional nursing bed assembly steps
1. Install the legs
The two longer ones are the legs of the bed, first, remove the screws on the legs of the bed, clamp the legs of the bed on the bed board, and then re-fix the screws. The nuts used in the hospital bed are all lock nuts, which do not need to be tightened too tightly. The two shorter beams are beams, which are respectively fixed on the installed legs of the bed, and gently shake the legs of the bed to ensure that there is no looseness.

Multifunctional nursing bed assembly steps
2. Install casters
The casters of the hospital bed are connected in a threaded manner. The four casters can be installed in the four screw holes regardless of the position.
3. Install the toilet hole
The toilet hole is composed of three parts: a bed surface hole structure, a bedpan holder, and a toilet hole handle. The bedpan frame is connected with the bed surface by a rod transfer device, and the toilet hole is opened and closed by controlling the spherical handle.

4. Install the head and foot of the bed
The headboard is taller, and the footboard is shorter, using the hanging installation method. Align the bed head hook with the iron pin of the bed iron and buckle the lock.
5. Install guardrail
Align the hole of the guardrail frame with the punching position of the bedside, and fix it with screws, with the guardrail switch facing the side of the bed.
6. Debug the controller
The motor and push rod has been installed before leaving the factory. After the power is turned on, it can be debugged through the controller. For details, please refer to “Product Function Introduction”.

7. Layout the mattress
If the product is equipped with a special mattress, according to the design of the bed surface, the position of the back frame, the foot frame, and the toilet hole can be matched.